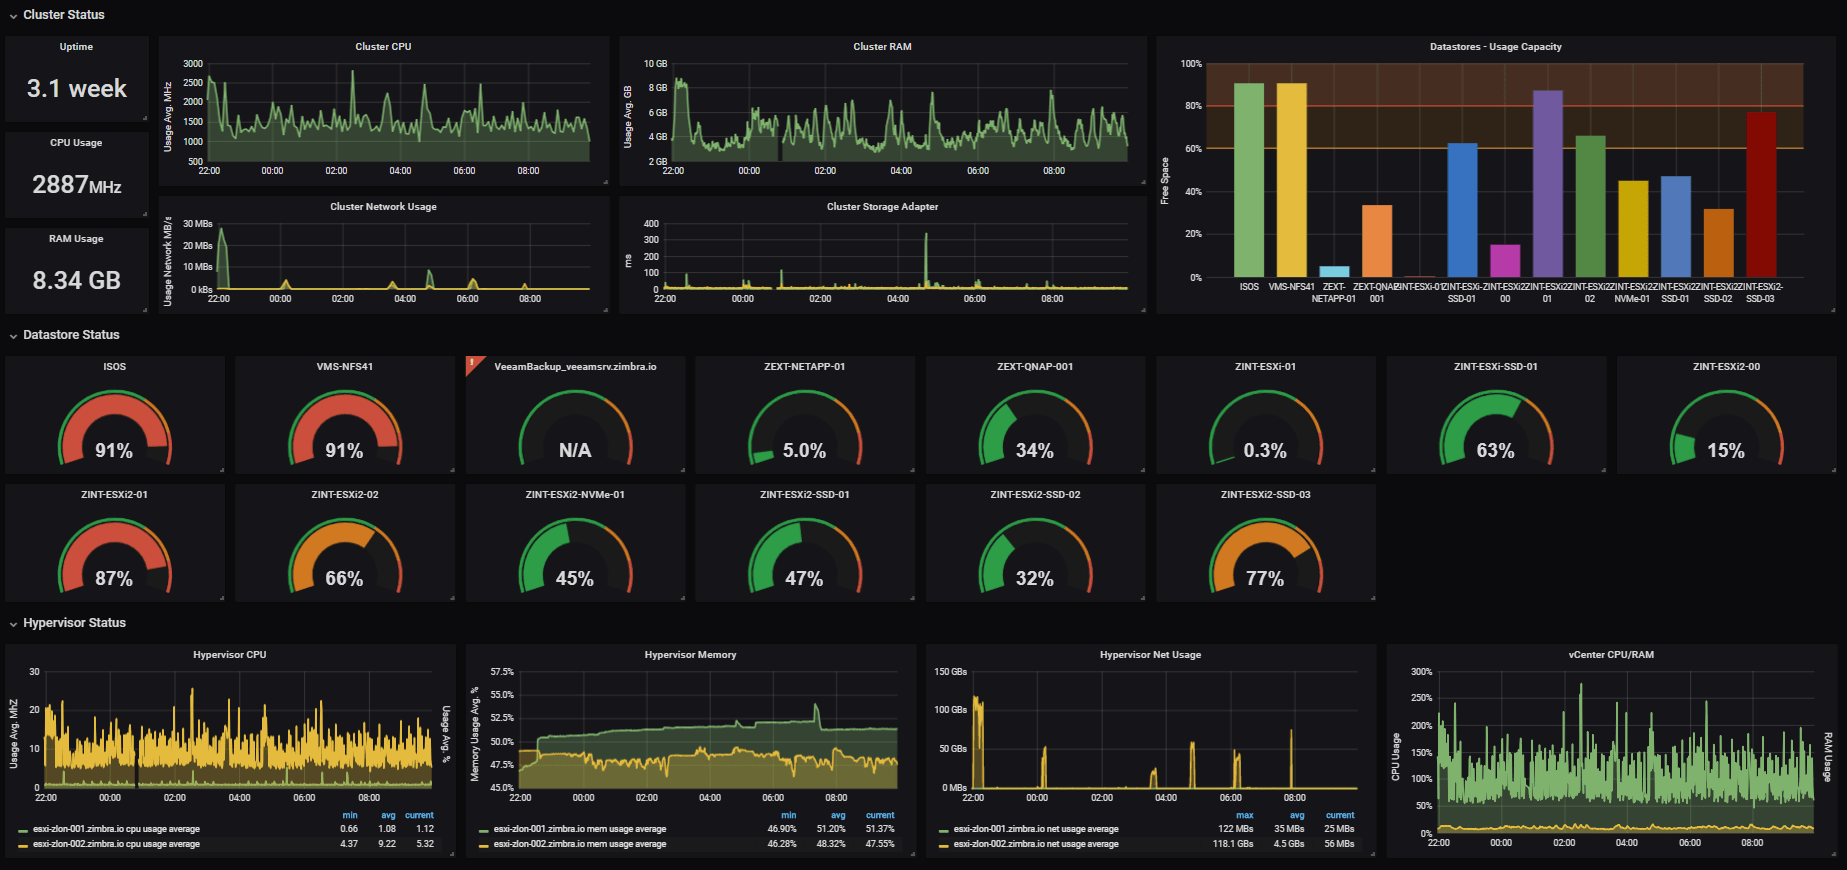
This is a summary of what we talked about on the workshop Learn how to integrate your charm with COS-lite all the way
How to setup a COS-lite environment and start tinkering with itNotice that this is an example setup to be able to start tinkering with COS-lite Creating a bridge for COS-liteWe started of by creating a bridge in netplan to separate the network for COS-lite.
Edit /etc/netplan/network-configuration-file.yaml
Arch maintenance commands Check systemd failed services 1 systemctl --failed Log files check 1 sudo journalctl -p 3 -xb Clean the journal 1 sudo journalctl --vacuum-time=2weeks Pacman Update 1 sudo pacman -Syu Delete Pacman Cache 1 sudo pacman -Scc Check Orphan packages 1 pacman -Qtdq Remove Orphan packages 1 sudo pacman -Rns $(pacman -Qtdq) Paru Update 1 paru Delete Paru Cache 1 paru -Scc Delete unwanted dependencies 1 paru -Yc Yay Update 1 yay Delete Yay Cache 1 yay -Scc Delete unwanted dependencies 1 yay -Yc Clean the Cache 1 rm -rf .
This is my guide on how to install Arch Linux!
Something’s missing? here is Arch Linux Wiki installation guide.
Base Installation Step 1. Load/Update Start by load keyboard layout and update repo mirrors
1.1 Load keyboard layout
1 2 ls /usr/share/kbd/keymaps/**/*.map.gz #list all layouts loadkeys sv-latin1 1.2 Update mirrorlist according to country
1 reflector -c Sweden -a 12 --sort rate --save /etc/pacman.d/mirrorlist Step 2. Format & Partion disk/s2.1 List disks
Increase disk size in the GUI or with the following command
Resize Disk Increase disk sizeIncrease disk size in the GUI or with the following command
1 qm resize 100 virtio0 +5G Decrease disk size Before decreasing disk sizes in Proxmox, you should take a backup!
Convert qcow2 to raw 1 qemu-img convert vm-100.qcow2 vm-100.raw Shrink the disk 1 qemu-img resize -f raw vm-100.raw 10G Convert back to qcow2# 1 qemu-img convert -p -O qcow2 vm-100.
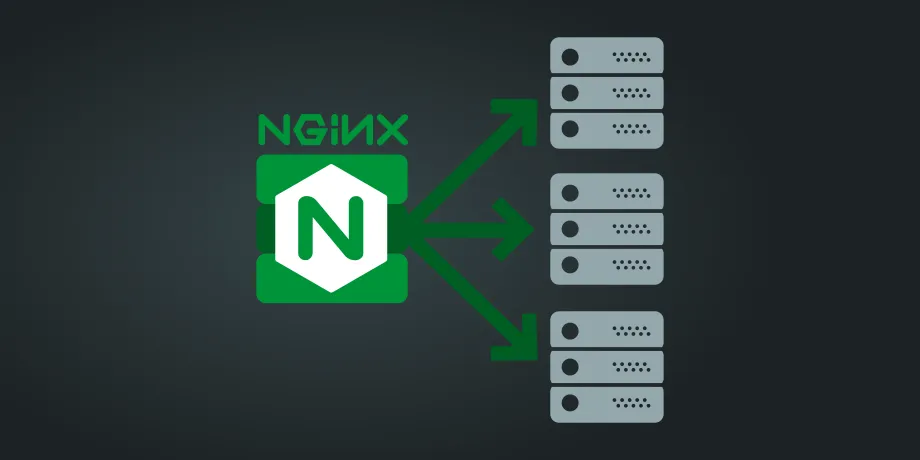
Nginx Reverse ProxyThis is a guide on how to install nginx as a reverse proxy.
Install nginxArch
1 2 sudo pacman -Sy #Update repository sudo pacman -S nginx #Install package Ubuntu
1 2 sudo apt-get update #Update repository sudo apt-get install nginx #Install package Unlink defult configuration on ubuntu (optional)
1 sudo unlink /etc/nginx/sites-enabled/default Edit default configuration file 1 sudo nvim /etc/nginx/sites-available/default Copy and paste
1 2 3 4 5 6 7 8 9 server { listen 80; listen [::]:80; access_log /var/log/nginx/default-access.
Docker-Compose NetworkingBy default Docker-Compose will create a new network for the given compose file. You can change the behavior by defining custom networks in your compose file.
Create and assign custom networkExample:
1 2 3 4 5 6 7 networks: custom-network: services: app: networks: - custom-network Use existing networksIf you want to use an existing Docker network for your compose files, you can add the external: true parameter in your compose file Example:


